CLICK Deployment
Deployment Guide
Did you fill out the checklist?Make sure you've gathered all the necessary data on our Deployment Readiness Checklist before you begin the process of deploying CLICK.
Now that you've prepared your environment and gathered the necessary information, you're ready to set up SynchroNet CLICK™!
Your CLICK Subscription
Whether you subscribed via the Marketplace or are working directly with SynchroNet, you are the proud new owner of a CLICK subscription. All CLICK subscription management is performed in the SynchroNet Customer Portal. To get started, create or log into your SynchroNet account.
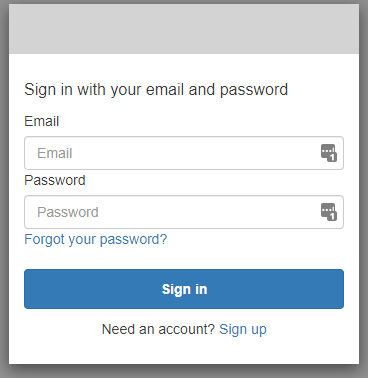
The SynchroNet Customer Portal logon screen
AWS Account Linking
This step does not apply to customers who did not subscribe to CLICK via the AWS Marketplace, or have already configured another AWS Marketplace subscription in the past.
Once you are logged in and viewing the registration wizard, you may be asked to confirm that you want to continue with your currently logged in account. For the average user, the answer to this question will always be "yes."
The first time you use an AWS Account to subscribe to a SynchroNet product or service, we must create a link between that AWS Account and your SynchroNet account. Once the account link is created, any future subscriptions from the same AWS Account will automatically be linked to your SynchroNet account.
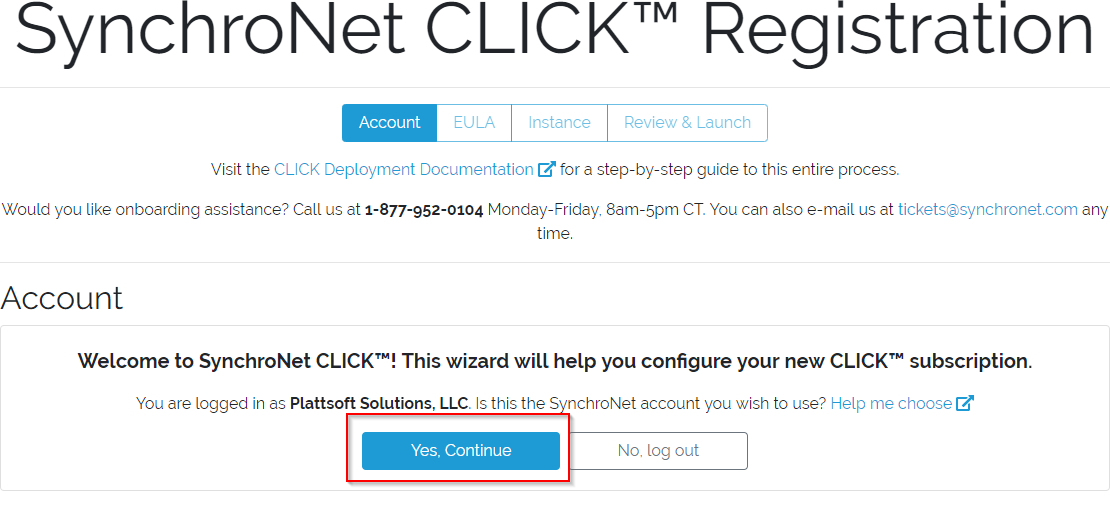
SynchroNet account linking page
End User License Agreement (EULA)
As part of every subscription, customers are required to read and accept the SynchroNet CLICK EULA.
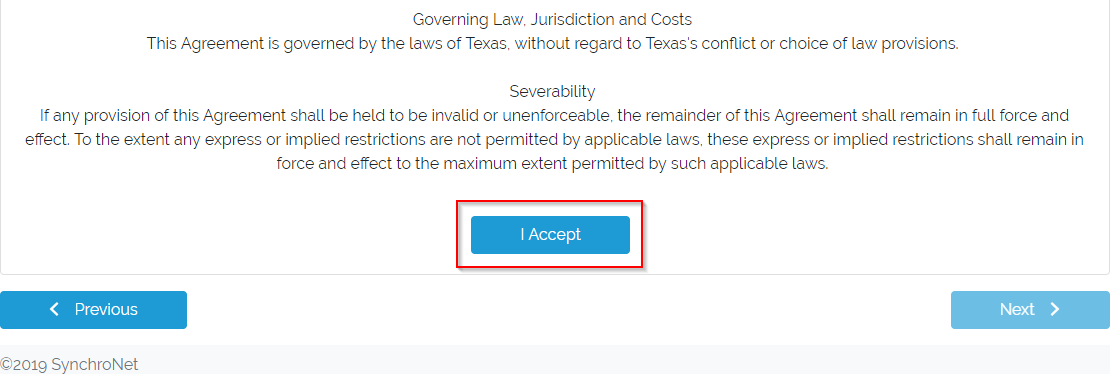
EULA Acceptance screen
Company Information
Returning customers will not see this step.
If you have just created your SynchroNet account, you will be prompted to provide some basic information about yourself and your company:
- Company Name
- Primary Contact Name
- Primary Contact E-mail (already populated during account creation)
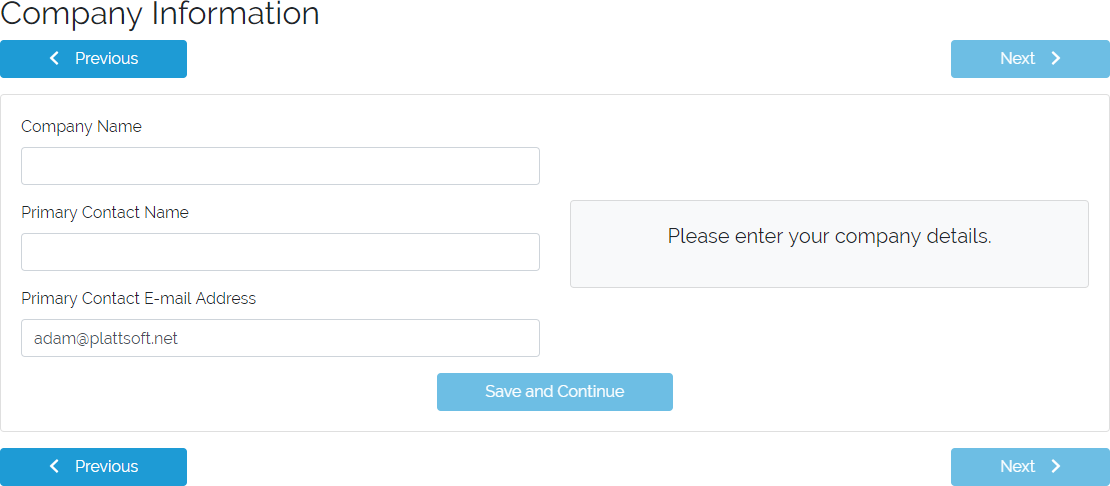
Company Information page
Instance Creation/Selection
Next, you will create or select a CLICK Instance to apply your subscription to.
Create an Instance
You can create a new CLICK instance to apply your subscription to. You will need to name your instance as well as provide some information about the Active Directory environment contained within it. While following the Deployment Readiness Checklist, you should have captured the object GUIDs of three special Active Directory groups that CLICK will use to determine user permissions.
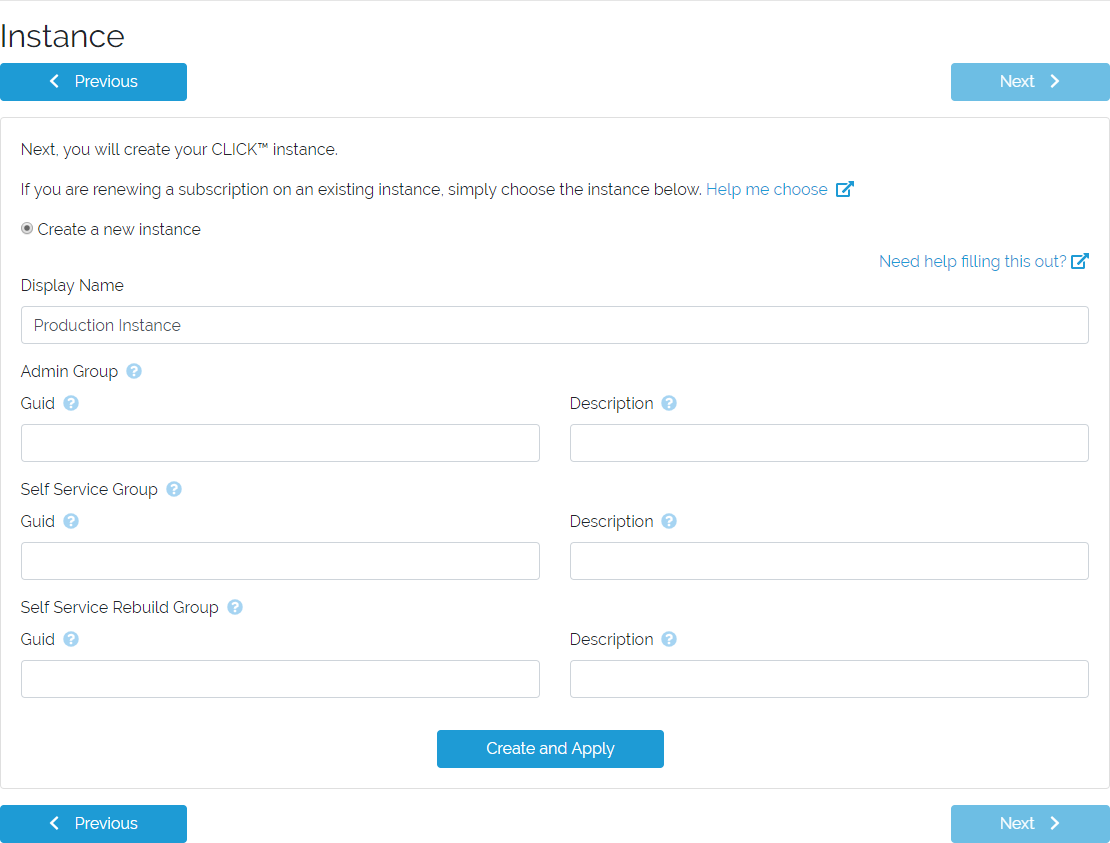
Instance creation form
Select an Instance
If you have an existing Instance whose subscription has expired, you can apply your new subscription to that Instance and get back to using CLICK.
You will see all of your CLICK Instances in this list. Any Instances that have an active subscription will appear in green, and you will not be able to select them to apply your new subscription.
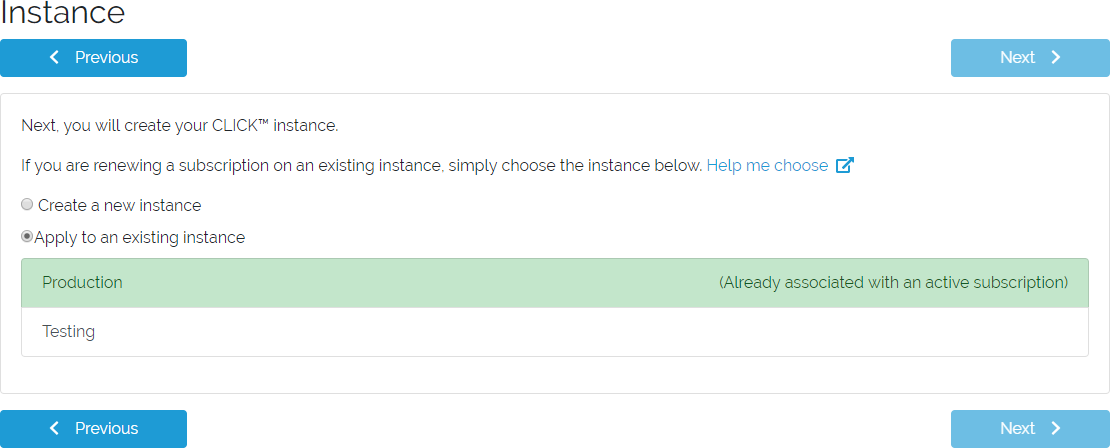
Instance selection form
SAML Identity Provider (IdP)
If you are applying a subscription to an existing Instance, you will not be required to complete this step.
If you just created a new CLICK instance, you will need to configure federated identity with CLICK by providing information about your SAML IdP. For detailed information about preparing your specific SAML provider, visit our SAML IdP Configuration documentation.
You may need to wait a couple of minutes for your CLICK Instance to finish being created before you can submit this form.
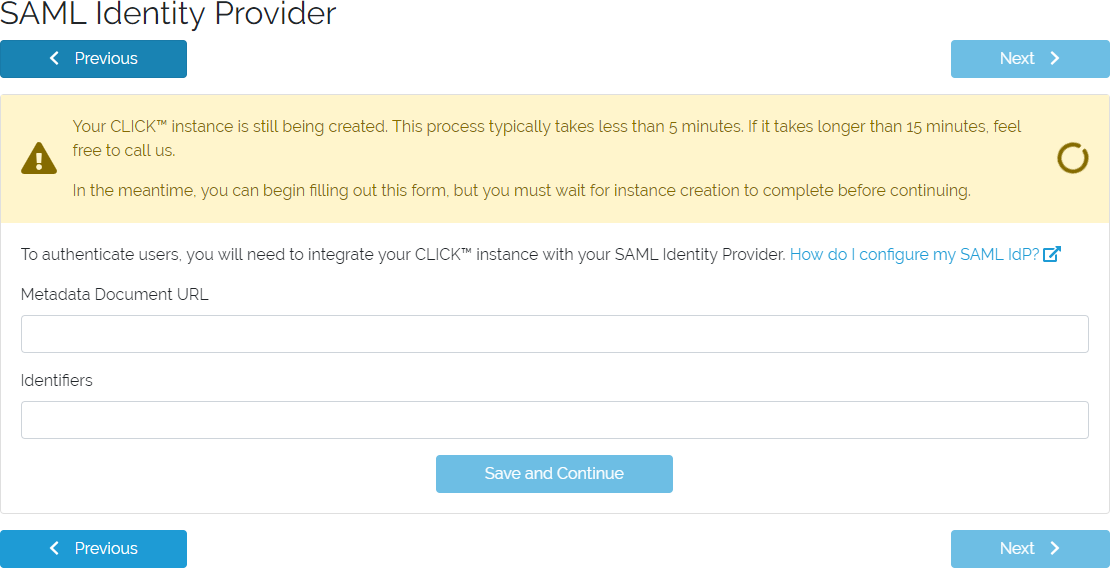
SAML Identity Provider form
AD Gateway
If you are applying a subscription to an existing Instance, you will not be required to complete this step.
If you created a new CLICK instance, you will need to deploy the CLICK AD Gateway into your AWS Account. We provide a CloudFormation Template to simplify this process as much as possible, but the fact remains that Active Directory environments can be fairly complex. After ensuring you have gathered all necessary data on the Deployment Readiness Checklist, follow these steps for a successful AD Gateway deployment.
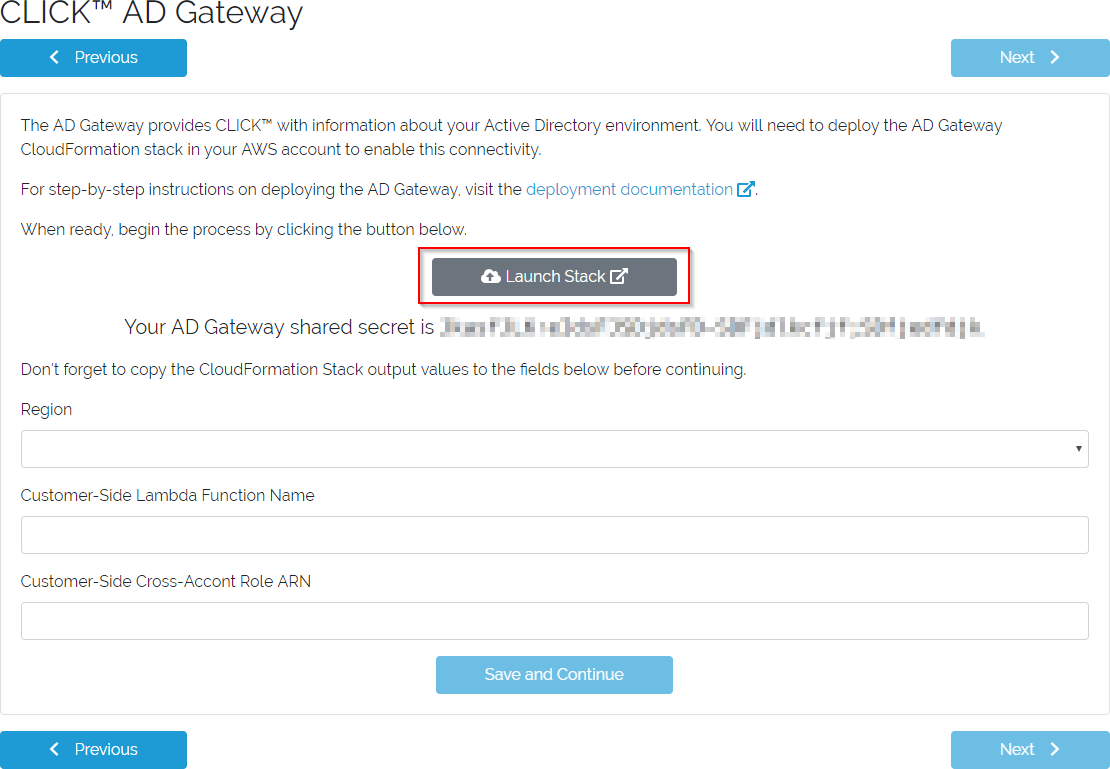
AD Gateway form
- Start at the AD Gateway form pictured above.
- In a separate browser tab, ensure you are logged in to the AWS Account where you intend to deploy the AD Gateway (including selecting the desired region), using administrative credentials.
- Return to the AD Gateway form and click the
Launch Stackbutton.- A new tab will open showing the CloudFormation Quick create stack screen.
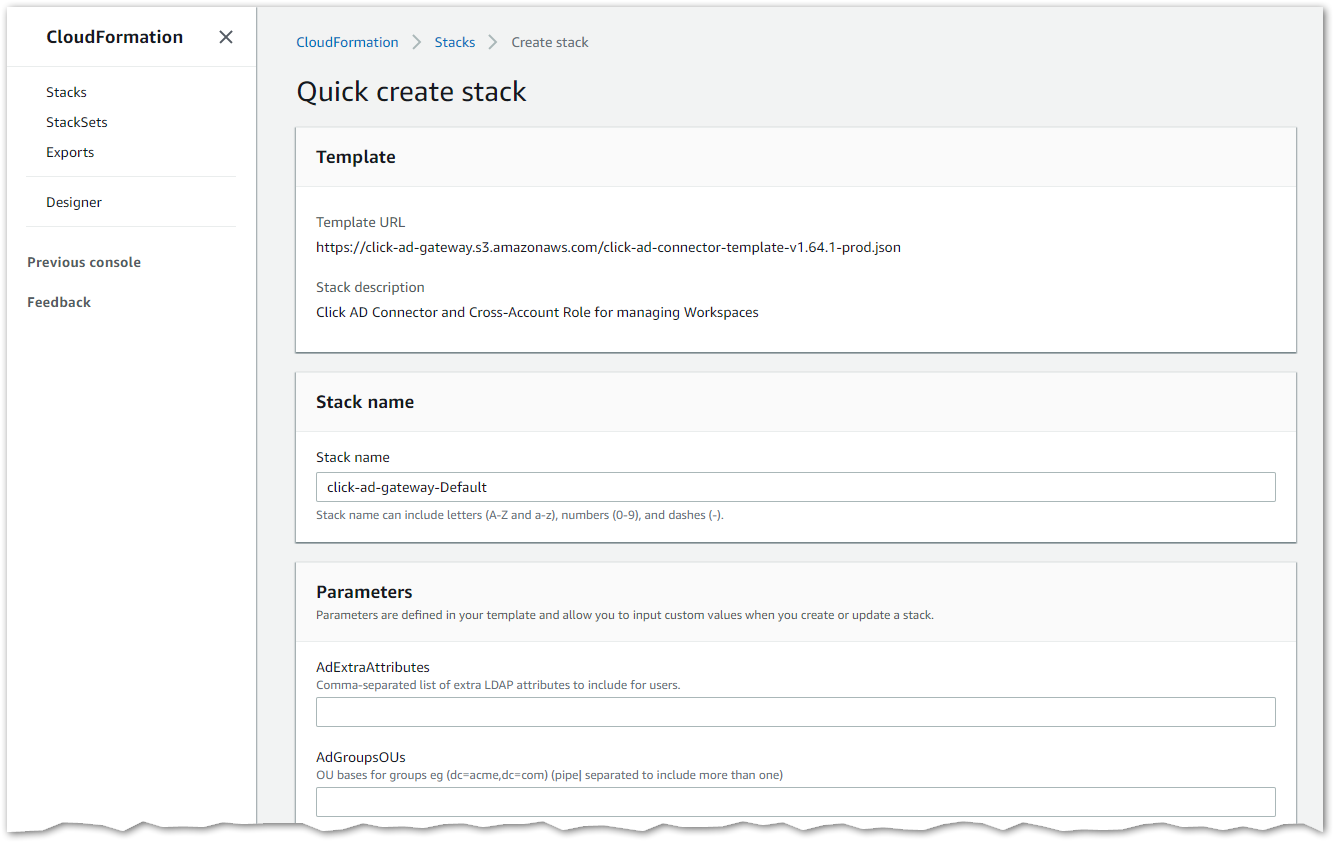
Quick create stack screen
- Populate the CloudFormation stack parameters. For detailed information about each parameter, see the AD Gateway Stack Parameters page.
- Mark the checkbox to accept the creation of IAM resources.

IAM resources dialog
- Create the stack.
- When the stack is done being created, go to the Output tab and take note of the
ClickKMSKeyIdvalue. You are about to create some parameters in the Systems Manager Parameter Store and you will use this key to encrypt them.
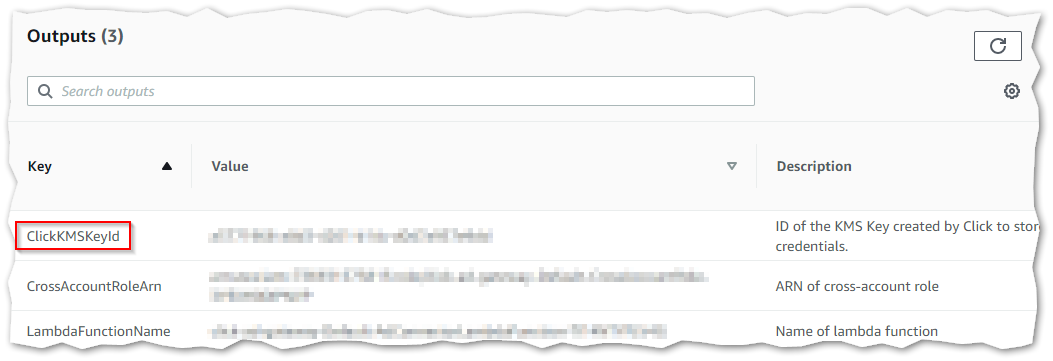
Stack outputs screen
- Go to the AWS Systems Manager service, enter the Parameter Store section, and click
Create Parameter.

AWS Systems Manager Parameter Store screen
- The Parameter details form will appear.
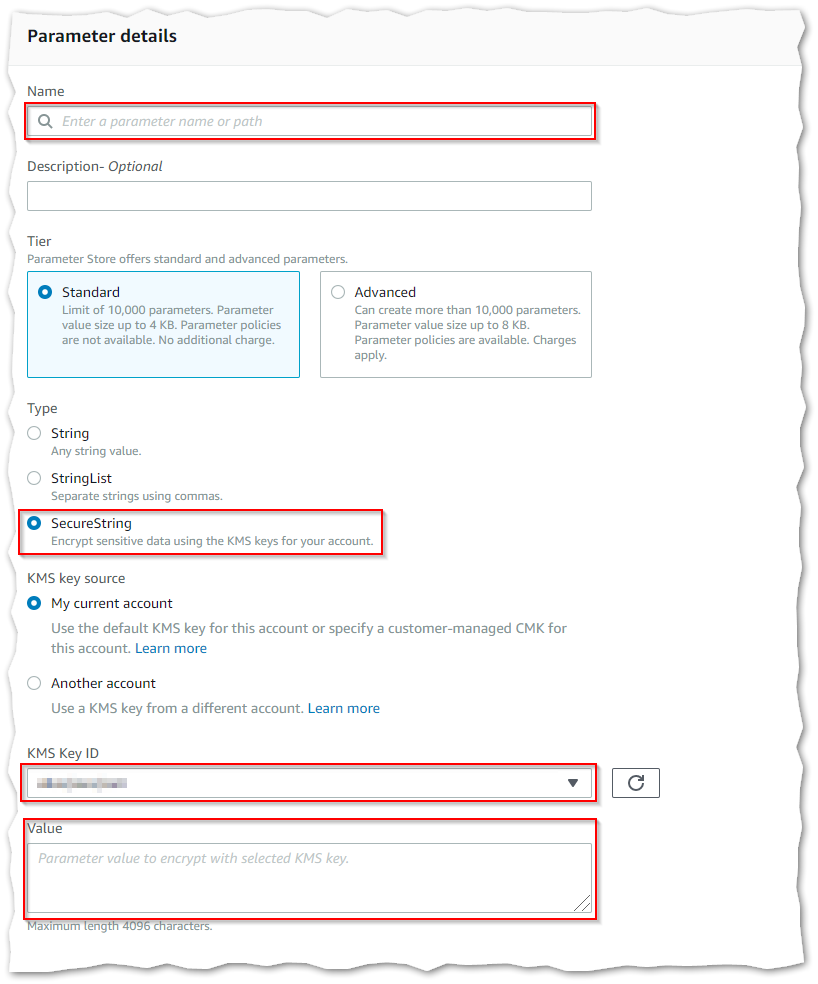
Parameter details screen
- Fill in the following values and create the parameter.
Field | Value |
|---|---|
Name |
|
Type |
|
KMS Key ID | Select the value displayed in the CloudFormation stack outputs for |
Value | The password for the Active Directory service account you specified in the CloudFormation stack |
- Repeat the above process to create a second parameter with these values.
Field | Value |
|---|---|
Name |
|
Type |
|
KMS Key ID | Select the value displayed in the CloudFormation stack outputs for |
Value | Copy this from the AD Gateway screen in the SynchroNet Customer Portal |

Shared secret display on the SynchroNet Customer Portal
- If you are using Secure LDAP, follow the above steps one last time to create a parameter to store the certificate information for establishing an encrypted LDAP connection.
Field | Value |
|---|---|
Name |
|
Type |
|
KMS Key ID | Select the value displayed in the CloudFormation stack outputs for |
Value | Paste the public key value of your certificate, including the |
- Return to the CloudFormation stack outputs screen and copy the values for
CrossAccountRoleArnandLambdaFunctionNameback to the appropriate fields in the SychroNet Customer Portal. - Before clicking
Save and Continue, be sure to select from the dropdown the region into which you deployed your AD Gateway stack.
Review and Launch
At this point, all of your configuration is done. The SynchroNet Customer Portal will display a list of the components you have configured. Once any pending operations on your Instance components complete, you can launch your CLICK Instance.
We hope you find SynchroNet CLICK™ a joy to use!
Updated 9 months ago
