Step 5: Create a CLICK Instance
Did you fill out the checklist?
For the best results, make sure you've completed Step 2: Configure Prerequisites before you begin the process of deploying CLICK.
After creating a subscription on the AWS Marketplace, you will be redirected to the SynchroNet Customer Portal. Next, you will need to create or log into your SynchroNet account.
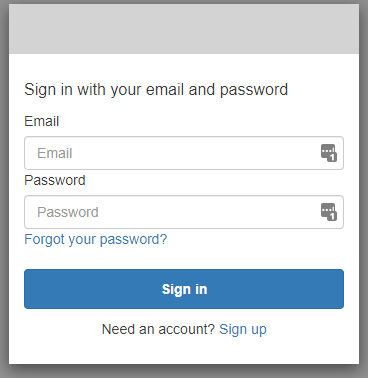
The SynchroNet Customer Portal logon screen
AWS Account Linking
This step does not apply to customers who have already configured another AWS Marketplace subscription in the past.
Once you are logged in and viewing the registration wizard, you may be asked to confirm that you want to continue with your currently logged in account. For the average user, the answer to this question will always be "yes."
The first time you use an AWS Account to subscribe to a SynchroNet product or service, we must create a link between that AWS Account and your SynchroNet account. Once the account link is created, any future subscriptions from the same AWS Account will automatically be linked to your SynchroNet account.
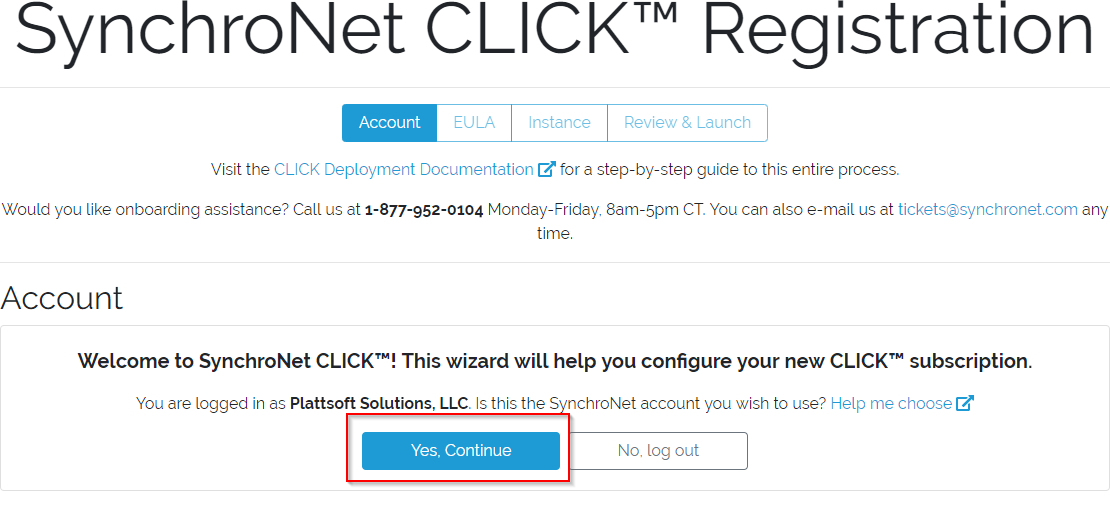
SynchroNet account linking page
End User License Agreement (EULA)
As part of every subscription, customers are required to read and accept the SynchroNet CLICK EULA.
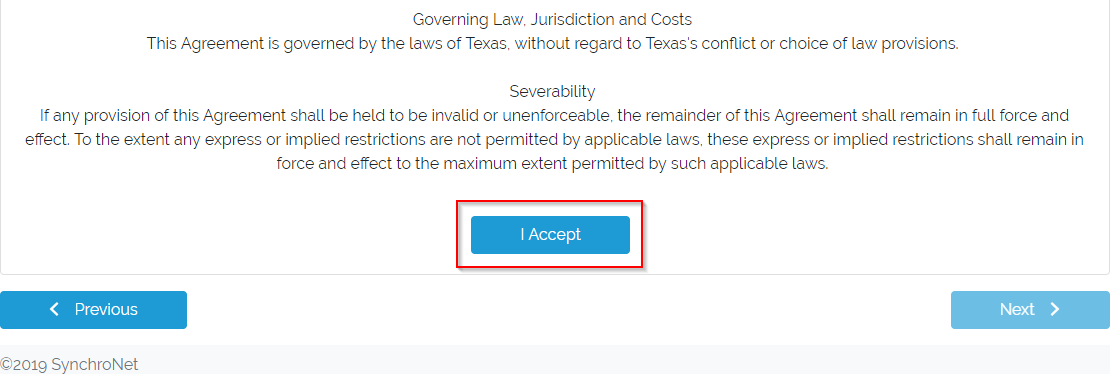
EULA Acceptance screen
Company Information
Returning customers will not see this step.
If you have just created your SynchroNet account, you will be prompted to provide some basic information about yourself and your company:
- Company Name
- Primary Contact Name
- Primary Contact E-mail (already populated during account creation)
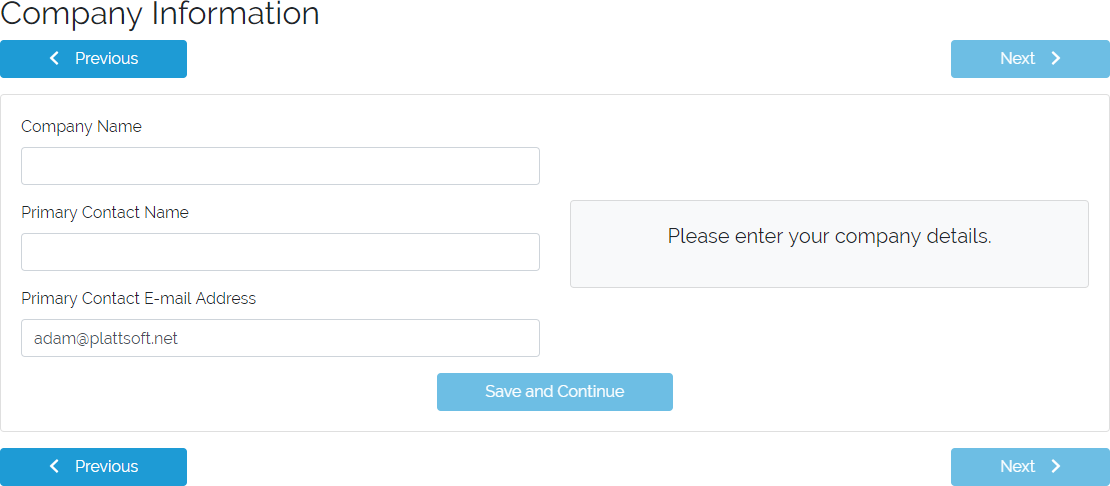
Company Information page
Instance Creation/Selection
Next, you will create or select a CLICK Instance to apply your subscription to.
Create an Instance
You can create a new CLICK instance to apply your subscription to. You will need to name your instance as well as provide some information about the Active Directory environment contained within it. While following the Deployment Readiness Checklist, you should have captured the object GUIDs of three special Active Directory groups that CLICK will use to determine user permissions.
You don't need object GUIDs if you're not integrating with Active Directory!
If you do not plan to use CLICK with an AD Gateway, you can leave the object GUID fields blank and continue to the next step.
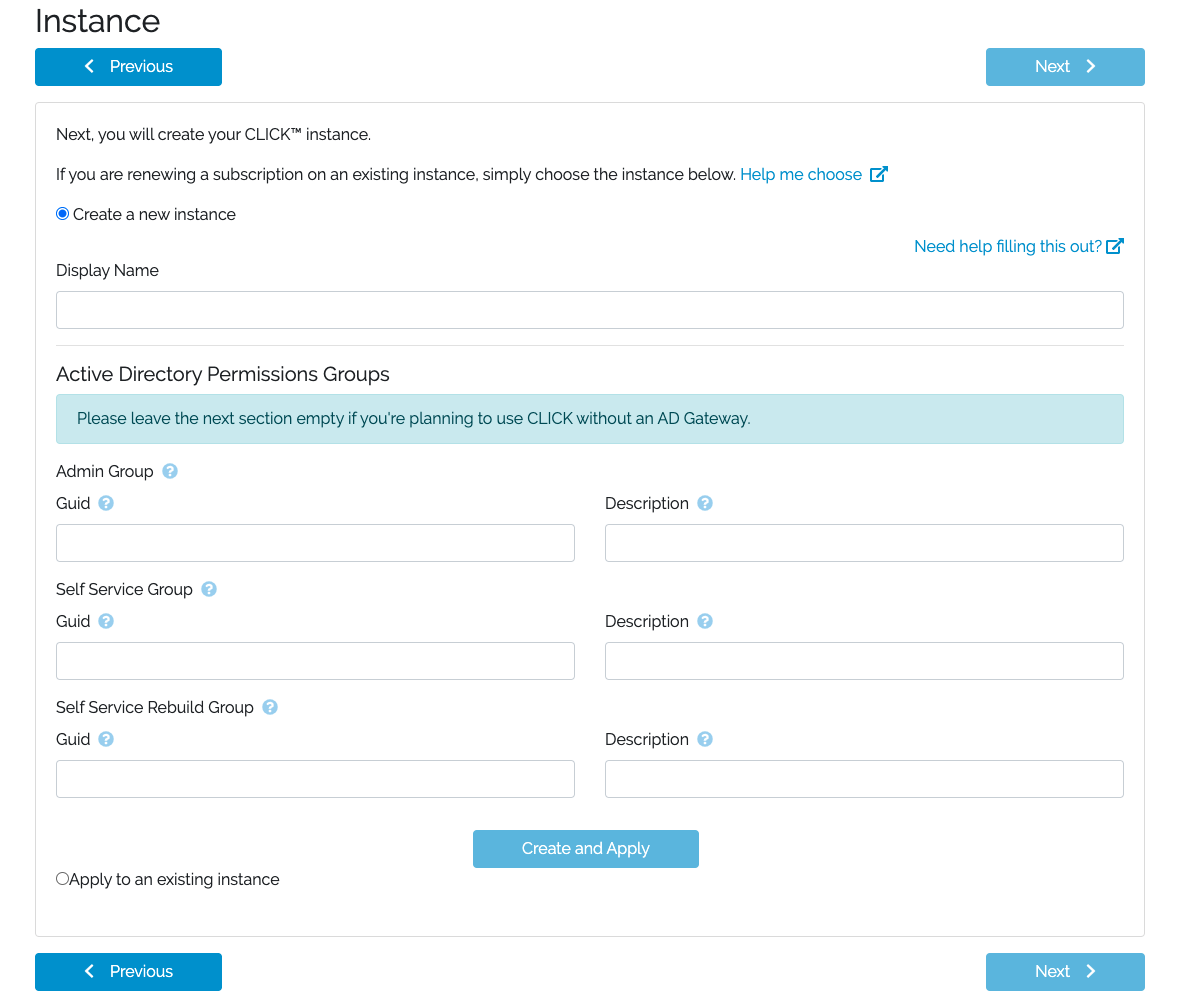
Instance creation form
Select an Instance
If you have an existing Instance whose subscription has expired, you can apply your new subscription to that Instance and get back to using CLICK.
You will see all of your CLICK Instances in this list. Any Instances that have an active subscription will appear in green, and you will not be able to select them to apply your new subscription.
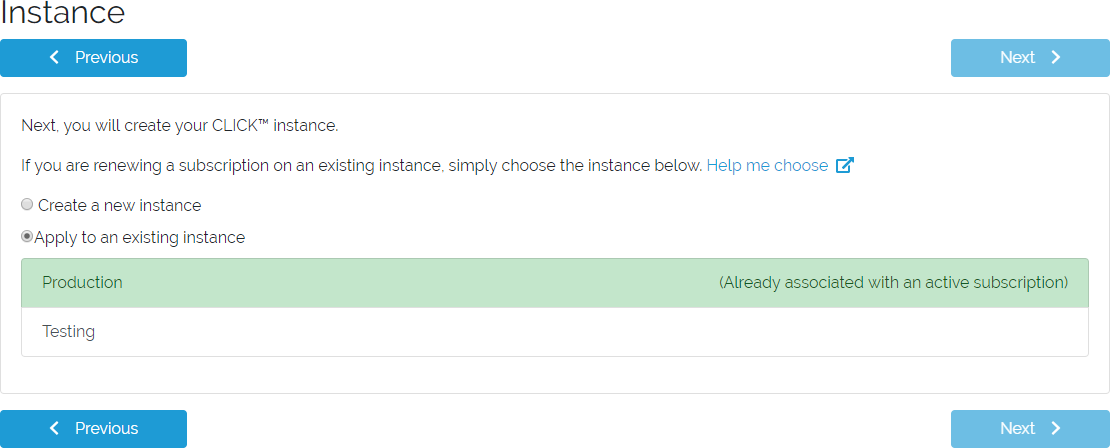
Instance selection form
Next Steps
The next screen that shows is the SAML IdP configuration screen. If you're deploying without SAML integration, you can click the Complete without SAML & AD button to complete your deployment. If you will be using SAML integration, continue to Step 5a.
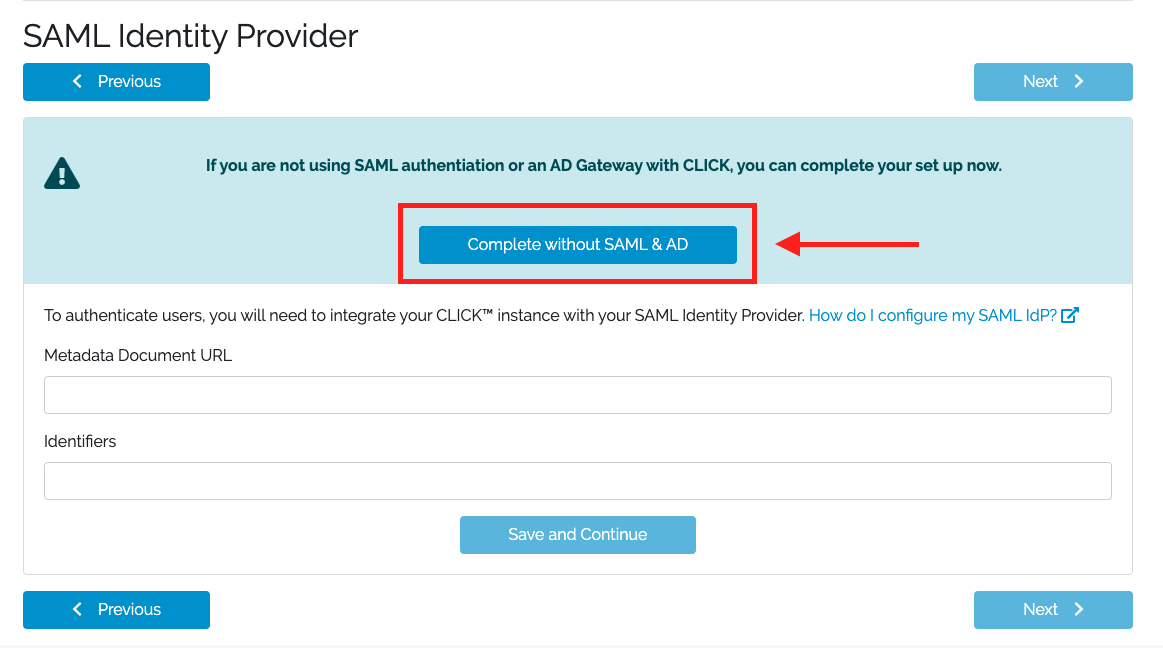
Complete without SAML & AD
If you are using CLICK without SAML and AD, you will be redirected to CLICK, you can skip ahead to Step: 6 to see how to link your WorkSpaces account to CLICK.
Next Steps
Updated over 3 years ago
If you're integrating SAML, go to Step 5a. If you're using CLICK without SAML or AD, go to Step 6.
